
Maintaining the interior of your vehicle goes beyond simply vacuuming the seats and wiping down the dashboard. The headliner, that often-overlooked fabric ceiling inside your car, plays a crucial role in keeping the cabin looking fresh and feeling comfortable. Over time, it can accumulate dust, grime, and unpleasant odours, detracting from the overall appeal of your vehicle. Understanding the proper methods to clean this delicate surface ensures that you preserve its appearance whilst eliminating any lingering smells that might affect your driving experience.
Preparing your vehicle and gathering essential cleaning materials
Before you begin the cleaning process, it is essential to prepare your vehicle and assemble all the necessary materials. This initial step sets the foundation for a successful and damage-free cleaning session. Start by parking your car in a well-ventilated area, ideally in a garage or under a shaded spot, to prevent direct sunlight from affecting the cleaning process or causing the fabric to dry unevenly. Open the doors and windows to allow fresh air to circulate, which will also help with drying later on.
Selecting the Right Cleaning Products for Your Headliner Fabric
Choosing the appropriate cleaning products is vital to avoid damaging the delicate fabric of your headliner. Harsh chemicals can cause discolouration, weaken the adhesive holding the fabric in place, or even lead to sagging. It is advisable to use branded upholstery cleaners specifically designed for automotive interiors, as these products are formulated to be gentle yet effective. Mild cleaning solutions, such as a mixture of water and a small amount of gentle detergent, can also work well. Always test any cleaning solution on a hidden area first to ensure it does not cause any adverse reactions. In addition to a suitable cleaner, gather a soft-bristled brush, several microfiber cloths, and a vacuum cleaner with an upholstery attachment. These tools will help you tackle dust, debris, and stains without risking damage to the fabric.
Setting Up Your Workspace for Safe and Effective Cleaning
Once you have all your materials ready, take a moment to organise your workspace. Remove any personal items from the vehicle that might obstruct your access to the headliner, such as sunglasses holders or hanging air fresheners. This will give you a clear and unobstructed view of the entire surface. Lay down a protective covering on the seats if you are concerned about drips or spills during the cleaning process. Having everything within easy reach will streamline the task and make the entire process more efficient and less stressful.
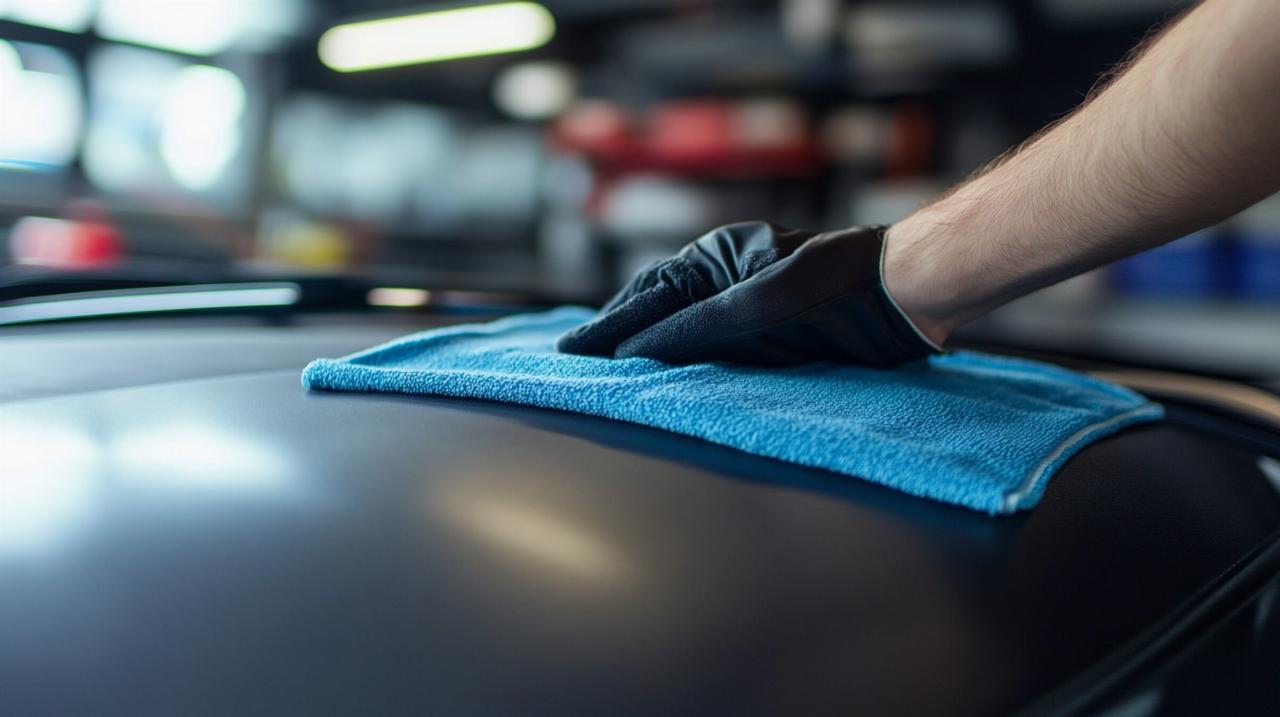
Proper techniques for cleaning your car's headliner without causing damage
With your vehicle prepared and your materials at hand, it is time to move on to the actual cleaning. The key to success lies in using gentle techniques that effectively remove dirt and stains without over-saturating the fabric or causing it to detach from the roof lining.
Removing Dust and Debris with Gentle Brushing Methods
Begin by using a soft-bristled brush to gently loosen and remove dust and debris from the headliner. Work in slow, deliberate strokes, moving from one side of the headliner to the other. This method helps to lift particles without pressing them deeper into the fabric. Following this, use the upholstery attachment on your vacuum cleaner to suction away the loosened dirt. This initial step is crucial, as it clears the surface and prepares it for the next phase of cleaning. Regular cleaning of car headliners, with light cleaning every six months and deep cleaning once a year, can prevent the buildup of grime and make the overall maintenance process much more manageable.
Treating Stubborn Stains Whilst Protecting the Fabric from Over-Saturation
For stubborn stains that remain after the initial dusting, apply your chosen cleaning solution carefully. It is important to dampen a microfiber cloth with the cleaner rather than applying the product directly onto the headliner. This approach gives you better control over the amount of moisture used and helps prevent over-wetting the fabric, which could weaken the adhesive or cause sagging. Gently blot the stained area, working from the outside of the stain towards the centre to avoid spreading it further. For tougher marks, you may need to repeat this process several times, but always ensure that you do not saturate the fabric. Work in small sections, allowing each area to dry slightly before moving on to the next. If you encounter particularly persistent stains, consider using steam cleaning techniques, which can be highly effective for automotive interiors. Steam not only helps lift dirt but also aids in odour elimination, leaving your vehicle smelling fresh without the need for harsh chemicals.
Drying and Maintaining Your Headliner to Prevent Odours and Ensure Longevity
After cleaning, the drying process is just as important as the cleaning itself. Proper drying prevents the development of mildew and unpleasant odours, ensuring that your efforts result in a long-lasting, fresh-smelling interior.
Best Practices for Allowing Your Headliner to Dry Properly
Allow the headliner to dry completely before using the vehicle. This may take several hours, depending on the humidity and ventilation in your workspace. Keep the doors and windows open to promote air circulation, which will speed up the drying process. If possible, use a fan to direct airflow towards the headliner, but avoid using heat sources such as hairdryers, as excessive heat can damage the fabric or cause it to shrink. Patience during this stage is crucial, as premature use of the vehicle can trap moisture within the fabric, leading to mould growth and persistent odours. Once the headliner is fully dry, inspect it closely to ensure that no damp spots remain. If any areas still feel slightly moist, allow additional time for them to air out completely.
Regular maintenance tips to keep your vehicle interior fresh
To maintain the cleanliness and freshness of your vehicle's interior over the long term, adopt a regular maintenance routine. Light cleaning every six months, combined with a thorough deep clean once a year, will help preserve the appearance and condition of your headliner. In addition to routine cleaning, consider using maintenance products designed for automotive interiors, such as fabric dyes and care products, which can help restore colour and protect the fabric from wear and tear. For those seeking bespoke solutions, some suppliers offer to create custom colours if needed, ensuring that any restoration work matches your vehicle's original look perfectly. Furthermore, exploring options to join a distribution network for Europe or worldwide can provide access to a broader range of high-quality cleaning and repair services. If you require professional assistance or specialised products, reaching out to experts can make a significant difference. For example, you can call 07484 265 364 or email [email protected] for advice on leather dyes, care products, fabric dyes, repairs, and services tailored to your needs. Product categories available from such specialists include leather dyes, care products, fabric dyes, repairs, and services, all designed to keep your vehicle looking its best. By incorporating these cleaning tips and maintenance practices into your routine, you ensure that your car's headliner remains in excellent condition, contributing to a pleasant and odour-free driving environment. Regular attention to detail not only enhances the aesthetic appeal of your vehicle but also helps maintain its value over time, making every journey more enjoyable.